How To Fix Lumpy Mattress How to Fix a Lumpy Mattress 2026
A lumpy mattress ruins sleep quality, but various DIY methods can restore an even surface. By targeting the specific cause—such as shifted padding or broken coils—you can flatten uneven spots and extend your mattress lifespan.
Fixing a lumpy mattress usually comes down to addressing shifted internal fillings, compressed comfort layers, or a failing support foundation. Whether you are dealing with body impressions in memory foam or bunched-up batting in a traditional pillow-top, you do not automatically need to buy a replacement in 2026. Many uneven sleeping surfaces can be rescued with targeted DIY adjustments that restore a flat, supportive feel in under an hour.
Ignoring a lumpy mattress leads to chronic back pain, disrupted sleep cycles, and accelerated wear on your body. Taking action now saves you hundreds of dollars while extending the lifespan of your current sleep setup. Below, you will find the exact causes of mattress lumps and step-by-step methods to fix them based on your specific mattress construction.
Key Takeaways
- Rotate or flip the mattress regularly to distribute wear evenly.
- Use a high-density memory foam topper to mask minor surface lumps.
- Vacuum and massage compressed polyester fill back into place.
- Check box springs and bed frames for sagging slats that mimic lumps.
- Replace the mattress if structural damage like broken coils causes severe sagging.
What Causes Lumps and Bumps in Your Mattress
Before you attempt any repairs, you need to understand why your mattress developed lumps in the first place. Different materials fail in distinct ways, and knowing the root cause dictates your fix strategy.
Innerspring and Pillow-Top Shifts
Traditional innerspring models and pillow-tops rely on loose batting, foam quilting, and fiberfill stitched directly beneath the cover. Over years of use, these soft materials migrate away from high-pressure zones like the hips and shoulders. They bunch up around the edges or in the center, creating distinct bumps next to deep valleys. Broken coil springs can also pop out of alignment, pushing upward against the comfort layers.
Foam Degradation and Moisture Damage
Memory foam and latex mattresses rarely bunch up because they are solid blocks of material. Instead, they develop lumps when cell walls break down unevenly due to body heat, heavy weight concentration, or moisture exposure. Sweat absorption causes localized foam to clump, harden, or swell, creating rigid bumps that refuse to compress under your body weight.
Lumpy Mattresses: What Causes It and How to Fix It
A lumpy mattress can completely ruin your night’s sleep, leading to morning aches, stiffness, and chronic fatigue. Over time, body weight shifts the internal padding, foam breaks down, or the foundation beneath the bed warps, creating uncomfortable peaks and valleys across your sleeping surface. This comprehensive guide walks you through the exact diagnostic and restoration procedures required to smooth out your mattress, restore proper spinal alignment, and extend the lifespan of your bed without unnecessarily spending a fortune on a brand-new replacement.
Step 1: Diagnose the Source of the Lump
What you need: A tape measure, a flashlight, and a level tool.
Instructions: Before you attempt any repairs, you must identify whether the lump originates inside the mattress itself, within the mattress topper, or from the box spring and bed frame underneath. Strip all sheets, blankets, and pillows off the bed to expose the bare surface. Run your hands firmly across the entire top layer to map out where the high and low spots reside. Next, check the wooden slats or box spring supporting the bed. Often, a shifted foundation board pushes upward into the mattress, mimicking an internal mattress lump. Take precise measurements of any sagging areas so you can track improvements later.
Pro Tip: Never skip the foundation check; fixing a mattress that sits on a broken frame is a waste of time because the damage will immediately return.
Step 2: Strip and Vacuum the Surface
What you need: A high-powered vacuum cleaner with an upholstery attachment, and a soft-bristled brush.
Instructions: Dust, dead skin cells, pet dander, and trapped moisture can cause localized clumping within quilted mattress covers and padding layers. Thoroughly vacuum the entire top, bottom, and side gussets of your mattress using the upholstery tool. Move the vacuum in overlapping grid patterns to suck loose debris out from deep within the stitching channels. If you spot localized clumps formed by trapped dirt or moisture, use a soft-bristled brush to gently agitate the fabric and loosen compacted particles before vacuuming them away.
Pro Tip: Empty your vacuum canister or use a fresh vacuum bag beforehand to maximize suction power and pull out hidden allergens effectively.
Step 3: Flip and Rotate the Mattress
What you need: A helper for safe lifting, and clean work gloves for better grip.
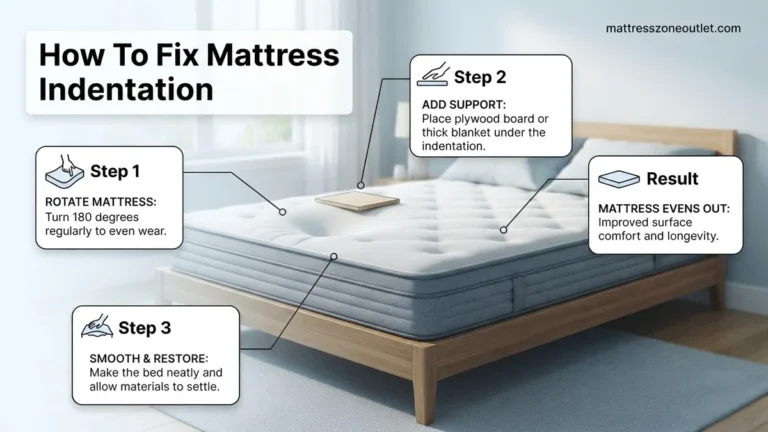
Instructions: If your mattress is two-sided (flippable), flipping it completely over is the single most effective way to eliminate lumps and body impressions. Grab a helper because mattresses are heavy and awkward to maneuver safely. Lift the mattress off the frame, rotate it 180 degrees so the foot is now at the head, and flip it upside down. If you own a modern one-sided (no-flip) mattress, you can still rotate it head-to-toe. This redistributes your sleeping weight away from the lumpy areas, allowing compressed interior foam and batting to decompress over time.
Pro Tip: Rotate or flip your mattress every three to six months as routine maintenance to prevent lumps from forming in the first place.
Step 4: Knead and Massage Foam Clumps
What you need: Your hands, bare feet, and optionally a foam roller or rolling pin.
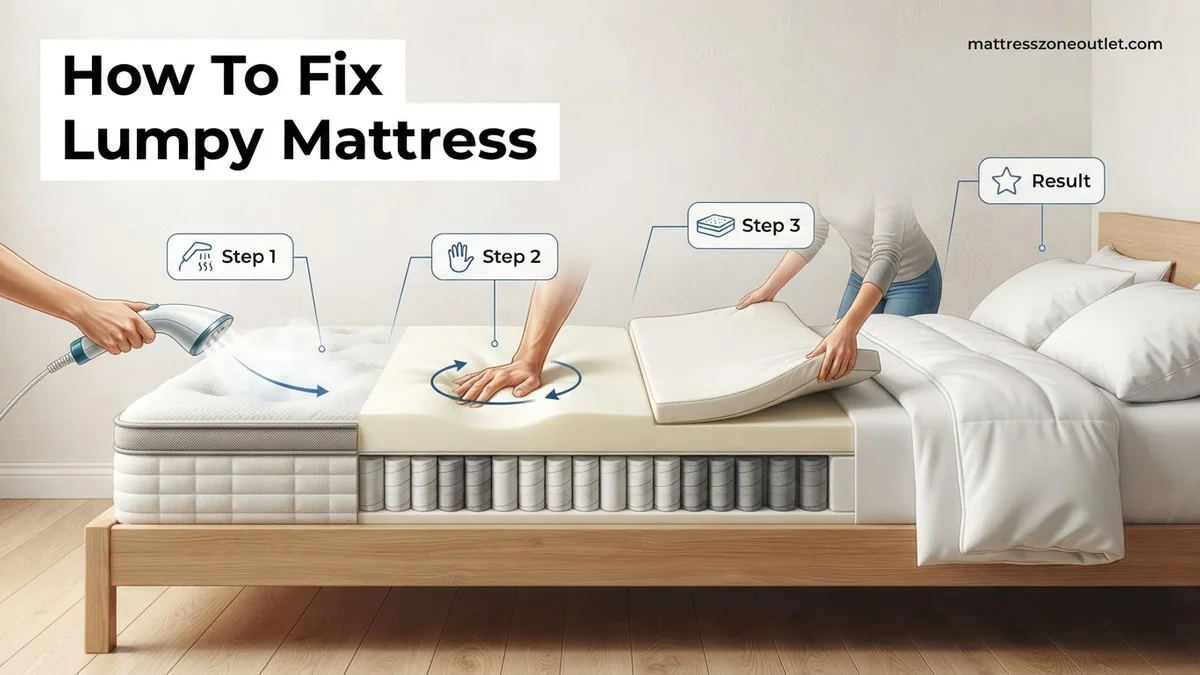
Instructions: Internal foam layers, polyester batting, or wool fillings can sometimes bunch up and form hard knots underneath the fabric cover. Locate each stubborn lump and use your palms, knuckles, or even your bare feet to firmly press, knead, and massage the material outward. Push the bunched material away from the center of the lump toward the surrounding flatter areas. For tougher knots in memory foam or polyfoam layers, place a thick towel over the spot and roll back and forth firmly using a heavy rolling pin or fitness foam roller to break apart the compressed fibers.
Pro Tip: Apply firm, steady pressure rather than sudden violent punches, which can tear delicate internal stitching or puncture the outer fabric.
Step 5: Apply Targeted Heat Therapy
What you need: A household clothes iron or a handheld garment steamer, and a clean protective cotton cloth.
Instructions: Synthetic batting and memory foam materials frequently become rigid and form lumps due to localized compression combined with trapped body heat and moisture. Lay a clean, damp cotton press cloth directly over the lumpy area. Set your clothes iron to a medium-low, steam-compatible synthetic setting—never use high heat, as it can melt synthetic foam. Gently glide the iron or steamer over the covered lump in circular motions for 30 to 60 seconds. The combination of gentle warmth and moisture relaxes the compressed fibers, making them pliable enough to smooth out flat with your hands.
Pro Tip: Always use a barrier cloth between the iron and the mattress surface to prevent scorching or melting the synthetic ticking fabric.
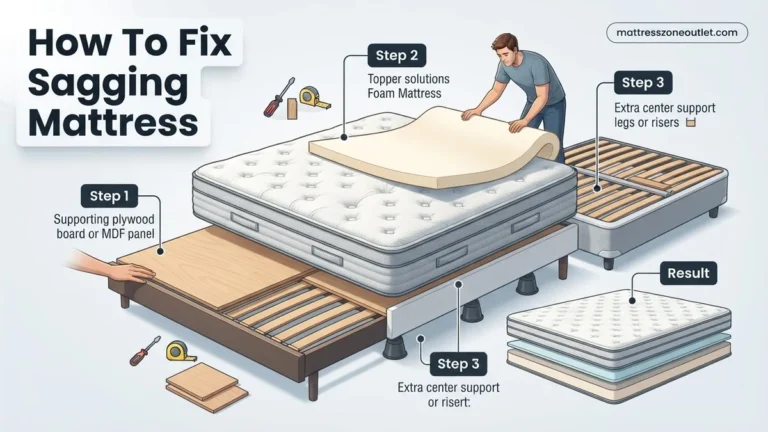
Step 6: Reinforce or Replace the Foundation
What you need: A screwdriver or drill, replacement wooden slats, or a sheet of 1/2-inch plywood.
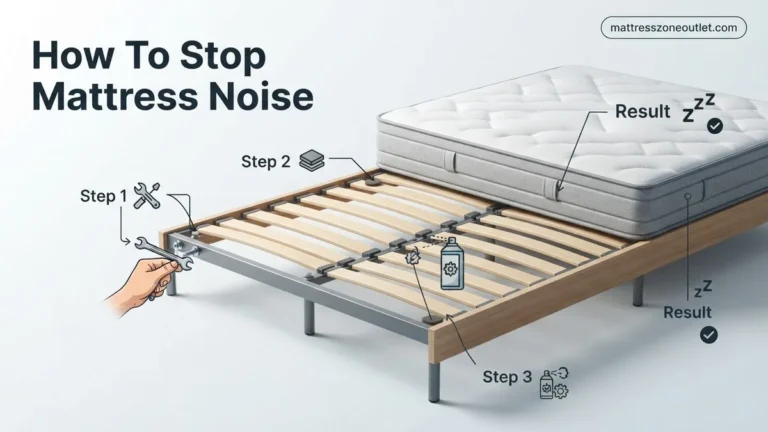
Instructions: If your mattress keeps developing lumps in the exact same spot, the underlying support structure is likely sagging or broken. Inspect your bed frame’s slats; if any are cracked or spaced wider than 3 inches apart, they will cause the mattress padding to bunch up between gaps. Secure loose slats with wood screws, replace broken boards, or lay a solid piece of cut-to-size 1/2-inch plywood directly across the frame beneath the mattress to create an even, unyielding foundation that supports the entire bed uniformly.
Pro Tip: Measure your bed frame interior twice before purchasing replacement plywood to ensure a snug, friction-free fit.
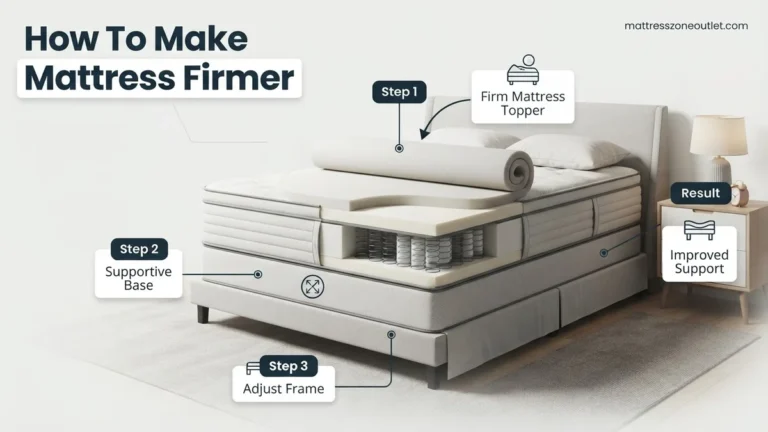
Step 7: Add a High-Density Mattress Topper
What you need: A 2-to-3-inch high-density memory foam, latex, or feather mattress topper, plus a fitted mattress protector.
Instructions: If internal mattress degradation is severe and the lumps cannot be fully kneaded out, you can mask the uneven surface by investing in a high-quality mattress topper. Place a thick, supportive topper directly over your fixed mattress. The dense new layer bridges the tiny gaps and smooths out minor residual bumps beneath, creating a brand-new, uniform sleeping plane. Encase both the mattress and the topper inside a deep-pocket, waterproof mattress protector to lock everything securely in place and prevent the topper from shifting during the night.
Pro Tip: Choose latex or high-density memory foam toppers for the best contouring support that bridges dips and lumps far better than cheap egg-crate foam.
✅ Final Checklist
- Mattress is thoroughly vacuumed and free of trapped dust and debris
- Mattress has been successfully flipped or rotated 180 degrees
- All interior foam knots and batting clumps have been kneaded flat
- Underlying bed slats and box spring are structurally sound and level
- A supportive mattress topper is securely fitted over any remaining minor imperfections
Important Notes:
- Always exercise caution when lifting heavy mattresses; use proper lifting techniques with a partner to avoid lower back strain.
- If your mattress is over 8-10 years old, or if internal metal coils are visibly poking through the fabric, stop DIY repairs and purchase a replacement for health and safety reasons.
- Estimated time: 1 to 2 hours. Estimated cost: $0 to $100 depending on whether you need a new foundation board or a mattress topper.
Step-by-Step DIY Methods to Fix a Lumpy Mattress
Once you identify the material type causing your issue, apply the corresponding fix method. These targeted techniques address the internal mechanics of your specific mattress.
The Massage and Redistribution Technique
For pillow-top, hybrid, and traditional spring mattresses with bunched fiberfill, manual redistribution works wonders.
- Strip all sheets, mattress protectors, and toppers to expose the bare surface.
- Locate the stubborn lumps and surrounding dips.
- Using your palms or knees, aggressively massage, knead, and push the bunched material outward toward the empty depressions.
- For severe bunching, use a blunt household tool like a rolling pin over a towel to break up compacted fiberfill clusters.
- Rotate the mattress 180 degrees head-to-toe to distribute future wear evenly across both sides.
Addressing Foundation and Support Issues
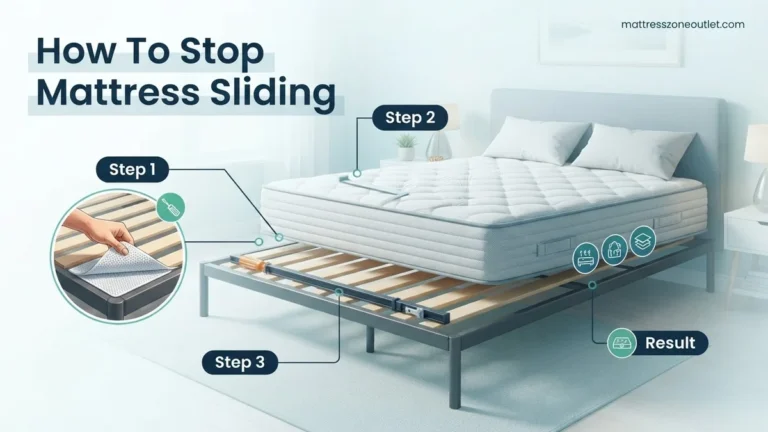
Sometimes the mattress itself is completely fine, but your bed base or box spring is failing.
- Place your mattress directly on a flat floor to test if the lumps disappear.
- If the lumps flatten out on the floor, your wooden slats are warped or spaced wider than 3 inches apart.
- Add a solid piece of 3/4-inch plywood between your mattress and slatted frame to create a uniform, flat surface.
- Check your metal bed frame for bent center support legs that allow the box spring to sag and push the mattress center upward.
Using Accessories to Smooth Out Minor Unevenness
When flipping and rotating fail to eliminate minor surface dips, specialized bedding accessories offer a cost-effective intermediate solution. According to orthopedic sleep studies, adding a high-density layer can bridge minor structural gaps and redistribute body weight evenly across a compromised sleeping surface.
Choosing the Right Mattress Topper
Selecting the correct material depends on your specific comfort preference and the severity of the lumpiness. High-density memory foam contours tightly to body shapes, while latex offers a more responsive, bouncy feel that naturally resists sagging. Down alternative and feather toppers provide plush cushioning, though they do little to correct structural unevenness.
- Measure your mattress dimensions accurately to ensure the topper fits without overlapping edges.
- Select a thickness between 2 and 3 inches; anything thinner will not mask underlying lumps, while thicker options may cause spinal misalignment.
- Place the topper directly onto the bare mattress surface before securing it with deep-pocket fitted sheets to prevent shifting during the night.
Utilizing Mattress Pads and Inserts
If the lumpiness is concentrated in a specific lumbar zone, targeted inserts can help level the area. Placing a firm wool or synthetic baffle-box pad over the entire bed creates an immediate buffer against rigid spring coils or clumping internal fibers.
- Identify the exact perimeter of the lumpy zone using tactile pressure checks.
- Insert a thin, high-density foam pad or folded towel directly beneath the mattress top layer if your design allows for unzipping.
- Layer a quilted mattress pad over the entire bed to lock all internal adjustments firmly into place.
What If It Still Doesn’t Work: Knowing When to Replace
If DIY adjustments, flipping, and premium toppers fail to restore an even sleeping surface, the internal support core has likely reached the end of its structural lifespan. Continuing to sleep on a severely compromised mattress often leads to chronic lower back pain and disrupted rest cycles, according to recent ergonomic findings.
- Check the warranty status: Review manufacturer documentation to determine if the indentation depth qualifies for a warranty claim, which typically requires a visible depression of 1.5 inches or greater without weight applied.
- Evaluate the age of the sleep surface: Industry standards dictate that standard innerspring and memory foam models require replacement every 7 to 10 years.
- Assess structural foundation damage: Inspect the underlying box spring or bed frame for broken slats or bowing beams that might be mimicking mattress lumpiness.
- Calculate replacement costs: Factor in that investing in a quality replacement model ranges from $600 to $2,500, which protects long-term spinal health far better than temporary fixes.
Conclusion
Fixing a lumpy mattress requires systematic troubleshooting, ranging from simple rotation cycles to targeted padding adjustments and strategic foundation checks. When DIY remedies no longer provide adequate spinal support, investing in a replacement becomes necessary for optimal physical health. According to verified research and sleep ergonomics experts, maintaining a flat, supportive sleeping surface is critical for reducing pressure points and ensuring restorative rest through 2026 and beyond. Take action today by inspecting your mattress depth and implementing a bi-annual rotation schedule to maximize your current sleep investment.
❓ Frequently Asked Questions
Why did my mattress develop lumps in the first place?
Lumps typically form due to the breakdown and shifting of internal comfort layers, compressed polyester fill, body impressions from sleeping in one spot, or structural failure in aging foam and coils.
Can I use an iron or steamer to flatten foam lumps?
Steam can help relax compressed synthetic fibers in quilted pillow-tops, allowing you to massage them back into an even layer. However, never use a hot iron directly on memory foam or synthetic materials, as it will melt them.
How often should I rotate my mattress to prevent lumps?
You should rotate your mattress 180 degrees every three to six months. This prevents excessive wear in high-pressure areas and distributes body weight evenly across the entire surface.
Could my bed frame be causing the lumpy feeling?
Yes, broken, warped, or widely spaced wooden slats can cause portions of the mattress to sag downward, creating the sensation of lumps and bumps on the sleep surface. Always inspect your foundation before blaming the mattress.
Are there professional services that can fix a lumpy mattress?
Generally, no. Mattress restoration is rarely offered commercially because the cost of repairing internal components usually exceeds the price of buying a brand-new mattress.
How long will a temporary fix like a mattress topper last?
A mattress topper can mask minor lumps for several months to a couple of years depending on its thickness and quality, but it only treats the symptoms rather than the underlying structural damage of the mattress.