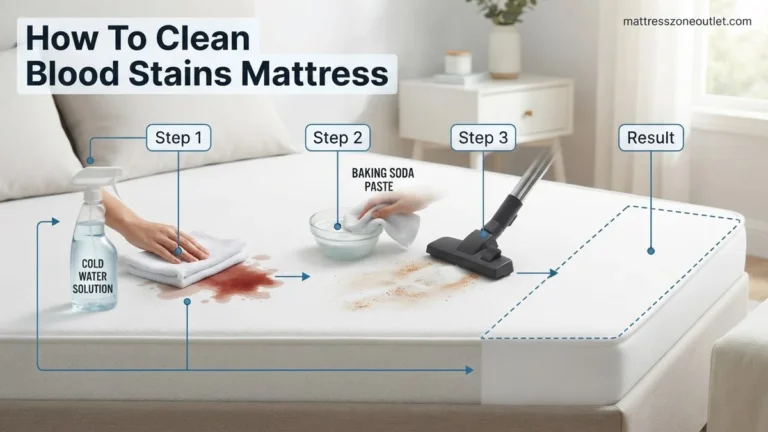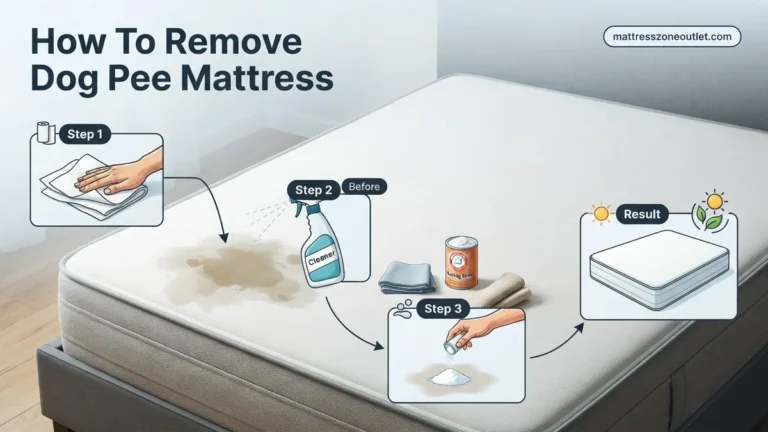
How to Disinfect Mattress Step-by-Step Guide for 2026
Matresses harbor millions of dust mites, sweat, and bacteria that require proper sanitization to eliminate. Disinfecting your mattress regularly prevents allergen buildup and neutralizes deep-seated odors using safe household solutions.
To properly disinfect your mattress and eliminate bacteria, dust mites, and hidden allergens, you need a targeted, multi-step sanitization process rather than just washing your sheets. Stripping the bed is only the first step; true disinfection requires a combination of deep vacuuming, an enzymatic or alcohol-based sanitizer spray with adequate dwell time, and complete moisture elimination to prevent mold growth.
Maintaining a hygienic sleeping surface is crucial for your respiratory health and skin hygiene as we head further into 2026. Because you spend roughly a third of your life in bed, your mattress inevitably absorbs sweat, dead skin cells, and microscopic pests that standard laundering cannot touch. Following a strict deep-cleaning protocol ensures your bed remains a safe, sanitary sanctuary.
Key Takeaways
- Vacuum the entire mattress surface thoroughly before applying any moisture or cleaning agents.
- Use a 3% hydrogen peroxide solution for spot-treating organic stains safely.
- Apply baking soda to neutralize odors and absorb residual surface moisture effectively.
- Allow the mattress to dry completely to prevent dangerous mold growth.
- Always check manufacturer tags before applying liquid sanitizers to memory foam.
What Causes Mattress Contamination and Hidden Pathogen Buildup
Everyday Microscopic Contaminants
Your mattress acts as a massive sponge for the human body. Every single night, you shed millions of microscopic skin cells and sweat up to a pint of moisture. This warm, organic debris creates an ideal breeding ground for unseen invaders that compromise your indoor air quality.
-
Dust mites and their allergy-triggering waste particles
Bacteria transferred from nightwear and skin contact
Fungal spores thriving in residual body humidity
Pet dander and pollen trapped deep within the inner upholstery layers
The Impact of Modern Foam and Fabric Construction
Modern memory foam and hybrid mattresses introduced in recent years utilize dense inner layers that trap heat and moisture effectively. Without proper airflow and regular surface disinfection, these layers retain sweat and body oils. Over time, this buildup leads to persistent stale odors, microbial growth, and a higher concentration of indoor allergens right beneath where you rest your head.
Master Mattress Disinfection in 7 Simple Steps
Your mattress is a hotspot for dust mites, sweat, dead skin cells, and microscopic bacteria that accumulate over months and years of use. While you likely wash your bedsheets regularly, the mattress itself often gets neglected, leading to allergens, lingering odors, and potential health issues. This comprehensive walkthrough provides a foolproof, professional-grade method to deeply clean, sanitize, and refresh your sleeping surface, ensuring a healthier and more hygienic bedroom environment.
Step 1: Strip and Launder All Bedding
What you need: Laundry detergent, oxygen-based bleach, and a washing machine capable of handling high heat.
Instructions: Before you can touch the mattress, you must remove every layer of textile resting on it. Strip off all fitted sheets, flat sheets, pillowcases, mattress protectors, and removable covers. Sort these items and wash them in the hottest water temperature recommended by the fabric care labels—ideally 130 degrees Fahrenheit (54 degrees Celsius) or higher—to effectively kill dust mites and bacteria. Add a cup of oxygen bleach to white loads to boost sanitization. Dry everything on the highest heat setting.
Pro Tip: Don’t forget to wash decorative throw pillows and blankets that sit on or near the bed, as they can easily transfer allergens back to your freshly cleaned mattress.
Step 2: Vacuum the Entire Surface
What you need: A vacuum cleaner equipped with a clean upholstery attachment and a crevice tool.
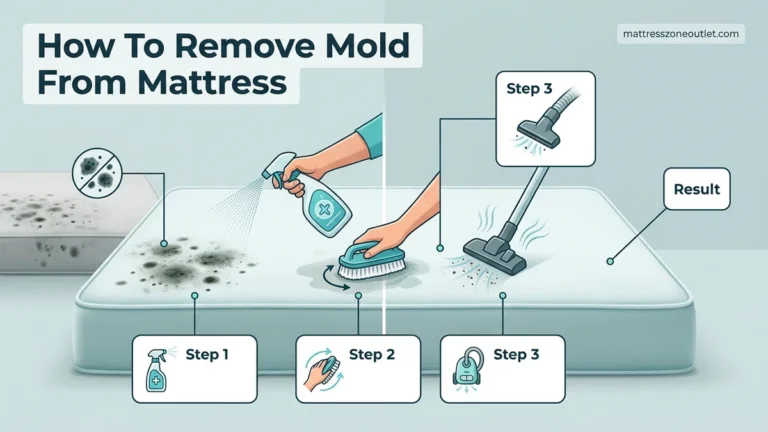
Instructions: Attach the upholstery tool to your vacuum and thoroughly vacuum the entire top surface of the mattress. Move in systematic, overlapping strokes from the head of the bed to the foot. Once the top is done, switch to the crevice tool to get deep into all the seams, tufts, piping, and folds where dead skin cells, pet hair, and dust mites love to hide. If your mattress is double-sided, flip it or rotate it, and repeat the vacuuming process on the bottom side.
Pro Tip: Ensure your vacuum filter and canister or bag are thoroughly cleaned before starting; otherwise, you risk blowing micro-dust and allergens back onto the mattress.
Step 3: Target and Pre-Treat Stains
What you need: A spray bottle, mild dish soap, hydrogen peroxide, baking soda, and clean white microfiber cloths.
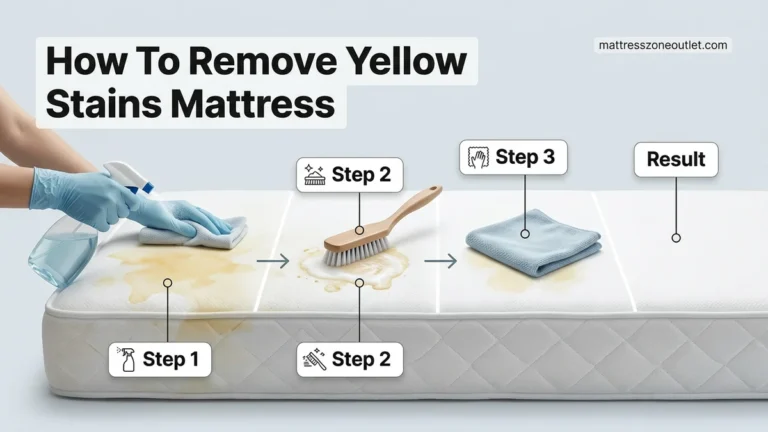
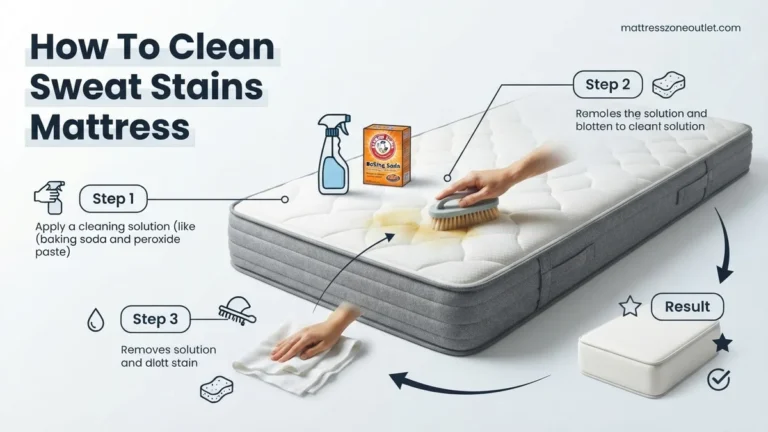
Instructions: Inspect the mattress for visible stains such as sweat, blood, or bodily fluids. Avoid soaking the memory foam or inner materials, as excess moisture causes mold. For protein stains, mix a solution of 8 ounces of hydrogen peroxide, 3 tablespoons of baking soda, and a single drop of liquid dish soap. Dab the solution onto a cloth and gently blot the stain—never rub, as this pushes the stain deeper. Blot with a second cloth dampened with cold water to rinse the area.
Pro Tip: Always test your cleaning mixture on a hidden corner of the mattress first to ensure it does not discolor or damage specialized synthetic fabrics.
Step 4: Apply the Deodorizing Powder
What you need: 1 to 2 cups of plain baking soda and 10 to 20 drops of your favorite essential oil (such as lavender or eucalyptus) for fragrance.
Instructions: In a mixing bowl, combine the baking soda and essential oil drops, whisking thoroughly to break up any clumps and distribute the scent evenly. Sift or sprinkle the scented baking soda generously and evenly across the entire surface of the mattress. Use a soft-bristled brush to gently work the powder into the top layer of fabric. Baking soda acts as a natural alkaline deodorizer that neutralizes acidic odors caused by body oils and sweat.
Pro Tip: For the best possible deodorizing results, let the baking soda sit on the mattress for a minimum of 4 to 8 hours, or ideally overnight.
Step 5: Sanitize with UV or Steam Treatment
What you need: A handheld garment steamer with a fabric brush attachment or a certified UV-C mattress sanitizer wand.
Instructions: To kill remaining bacteria, viruses, and bed bug eggs without harsh chemicals, pass a high-heat garment steamer slowly across the mattress surface, keeping the nozzle about an inch away from the fabric. Alternatively, slowly glide a UV-C sanitizing light over the entire mattress, allowing the ultraviolet light to disrupt microbial DNA. Ensure the mattress does not become overly damp from the steam, as moisture retention promotes fungal growth.
Pro Tip: If using a steamer, complete this step before applying the baking soda in Step 4, or do it after vacuuming up the baking soda to prevent creating a muddy paste.
Step 6: Vacuum Away the Baking Soda
What you need: Your vacuum cleaner with the clean upholstery attachment.
Instructions: Once the baking soda has had adequate time to absorb deep-seated odors and remaining surface moisture, it is time to remove it completely. Take your vacuum cleaner and meticulously go over the entire mattress surface using slow, overlapping passes. You may need to empty your vacuum canister or replace the bag mid-process if your mattress is large or if you applied a thick layer of powder. Ensure no white powdery residue remains in the crevices or quilted patterns.
Pro Tip: Keep your windows open or run a ceiling fan during this step to prevent any fine baking soda dust stirred up in the air from irritating your nose and throat.
Step 7: Air Out and Protect the Mattress
What you need: A high-quality, waterproof, and hypoallergenic mattress protector.
Instructions: Leave the bare mattress exposed to fresh air and natural sunlight for 1 to 2 hours if possible, as sunlight provides natural UV sterilization. Once the mattress is completely dry, cool, and clean, encase it immediately in a zipped, waterproof, and hypoallergenic mattress protector. This barrier prevents future sweat, dead skin cells, and allergens from penetrating the fabric, significantly extending the lifespan and hygiene of your mattress.
Pro Tip: Wash your mattress protector every month to maintain a clean barrier between your body and the mattress surface.
✅ Final Checklist
- All sheets, pillowcases, and protectors have been washed in hot water and thoroughly dried.
- The mattress has been thoroughly vacuumed across the top, sides, and deep crevices.
- All specific organic stains have been successfully blotted and neutralized.
- Baking soda was left to sit for at least 4 hours and completely vacuumed away.
- A clean, waterproof, and hypoallergenic mattress protector has been installed.
Important Notes:
- Never use hot water or excessive liquid when treating memory foam mattresses, as moisture can permanently damage the internal foam structure.
- If you suspect a severe bed bug infestation or deep-seated toxic mold, discontinue DIY cleaning and immediately contact professional pest control or mattress restoration services.
- Estimated time: 1 to 2 hours of active work, plus drying/sitting time. Estimated cost: $10 to $30 for baking soda, essential oils, and stain solutions (assuming you already own a vacuum).
How to Deep Clean and Vacuum a Mattress Properly
Stripping and Initial Surface Preparation
Before any chemical disinfectant touches your mattress, you must remove all loose surface debris. Strip away every layer of bedding, including protectors and pillowcases. Wash these in water heated to at least 130 degrees Fahrenheit to kill trapped dust mites. While your linens spin in the washing machine, examine your mattress for any stubborn stains that require pre-treatment.
Executing the Deep Vacuum Technique
Vacuuming is the mechanical heart of your mattress prep because it physically removes the bulk of allergens and dead skin before sanitizing. You cannot effectively disinfect a dusty surface.
-
Attach the clean upholstery tool to your vacuum cleaner to maximize suction power.
Work in systematic, overlapping grid patterns across the entire top surface.
Pay extreme attention to tufts, buttons, and deep seams where debris accumulates.
Vigorously vacuum all four vertical side gussets of the mattress.
Empty your vacuum canister or replace the HEPA bag immediately afterward to prevent allergen recirculation.
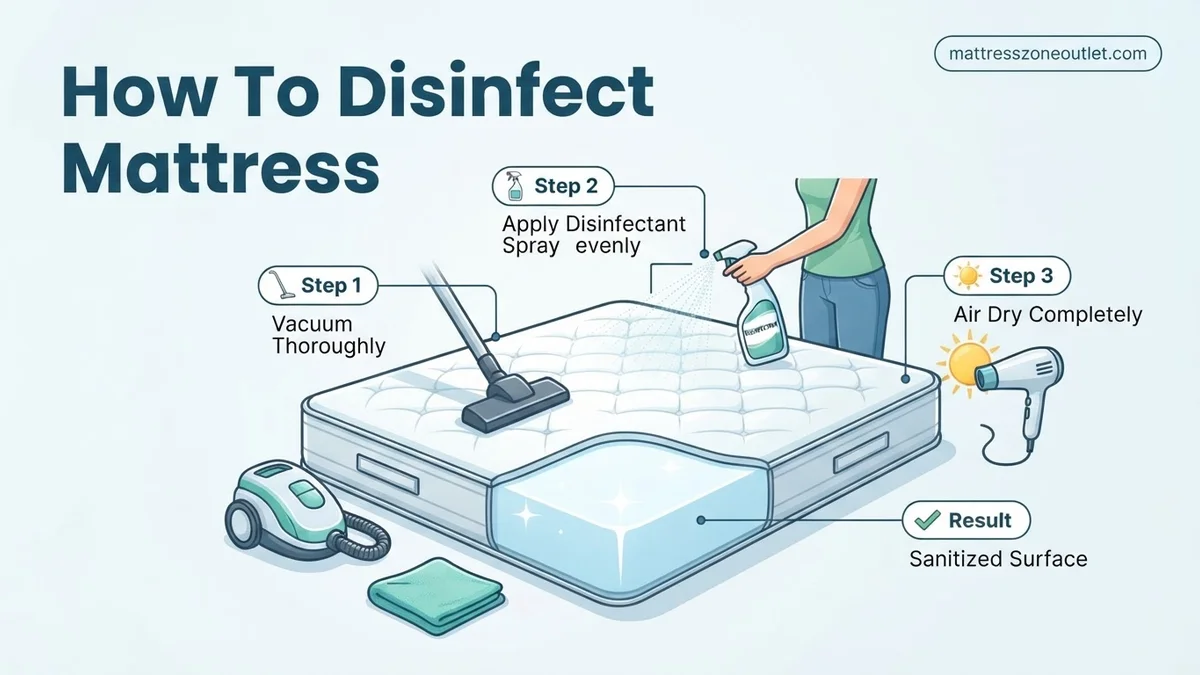
Step-by-Step Guide on How to Disinfect Mattress Surfaces Safely
Executing a proper disinfection protocol requires precision to protect both your health and the integrity of modern memory foam or innerspring materials. According to the National Sleep Foundation, standard household bleach should never be applied directly to a mattress because it breaks down polyurethane foam and releases hazardous volatile organic compounds.
Phase 1: Deep Vacuuming and Debris Removal
- Strip all bedding, pillowcases, and mattress protectors immediately, washing them in water heated to at least 130°F (54°C) to kill dust mites.
- Attach the upholstery tool to your vacuum cleaner.
- Vacuum the entire top surface, paying meticulous attention to tufts, seams, and piping where skin cells and allergens accumulate.
Phase 2: Targeted Stain Treatment and Sanitization
- Mix a solution of 8 ounces of 3% hydrogen peroxide, 3 tablespoons of baking soda, and a single drop of liquid dish soap in an open bowl.
- Transfer the mixture into a spray bottle and mist the surface lightly, ensuring the mattress core never becomes saturated.
- Allow the solution to sit for 10 minutes to oxidize organic matter and neutralize surface bacteria.
- Blot the area firmly with a clean, dry microfiber towel to lift dissolved residues.
What If It Still Doesn’t Work and Odors Persist
Stubborn mold spores, deep-set bodily fluids, or persistent smoke odors may survive standard surface treatments. When DIY disinfection fails to restore freshness, implement these advanced remediation steps:
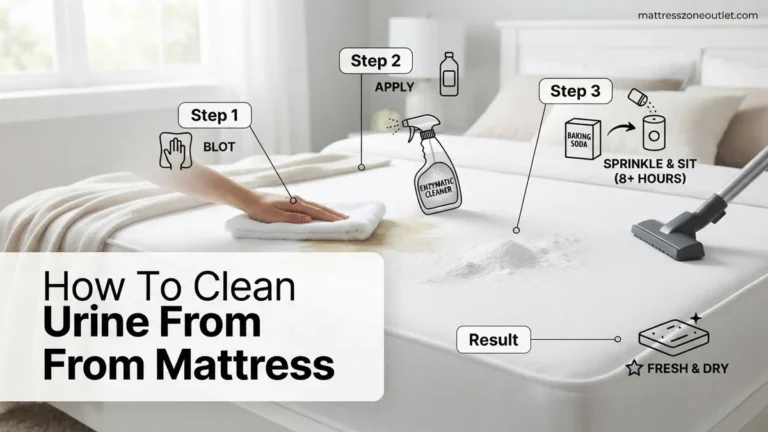
- Deploy an enzymatic cleaner: Purchase a bio-enzymatic pet odor eliminator rated for organic proteins and saturate the affected zone, letting it break down stubborn microscopic molecules for 24 hours.
- Utilize UV-C sanitizing wands: Run a certified UV-C light sanitizer slowly across the mattress surface to neutralize lingering pathogens at a DNA level. Ensure proper eye protection during operation.
- Rent an ozone generator: For severe whole-mattress odors, isolate the mattress in a sealed room with a commercial ozone machine running for 2 to 4 hours, strictly vacating the space during treatment.
- Hire professional sanitization services: If health concerns like chronic allergies persist or deep mold is detected, contact a certified mattress restoration specialist. Professional hot-water extraction and sanitization typically range from $150 to $300 depending on mattress size.
Conclusion
Maintaining a clean sleeping environment is vital for mitigating allergen exposure and extending the operational lifespan of your bedding investment. By utilizing targeted enzymatic treatments, UV-C sanitation, and moisture-controlled cleaning protocols, you can effectively neutralize harmful pathogens without damaging internal foam structures. According to verified research and expert sleep sanitation sources, establishing a quarterly disinfection routine dramatically reduces indoor allergen loads. Take action today by stripping your bed and running your mattress protector through a high-temperature wash cycle to secure a healthier sleep sanctuary for 2026.
❓ Frequently Asked Questions
What is the safest DIY disinfectant spray for a foam mattress?
A mixture of equal parts white vinegar and water, or a light mist of 3% hydrogen peroxide, safely sanitizes most fabrics without breaking down memory foam. Always test a small hidden area first to check for discoloration.
How do I get rid of sweat stains while disinfecting?
Mix one cup of hydrogen peroxide, three tablespoons of baking soda, and a drop of liquid dish soap. Apply the mixture to the stain, let it fizz, and blot with a clean cloth once dry.
Will sunlight help kill bacteria on a mattress?
Ultraviolet rays from direct sunlight possess natural disinfecting properties that help kill mold spores and bacteria. If possible, place the mattress outside on a bright, dry day for a few hours.
How can I prevent mold growth after applying liquid cleaners?
To prevent mold, avoid soaking the mattress with excessive liquids. Use fans, open windows, or a hair dryer on a cool setting to accelerate the drying process entirely.
Are commercial disinfectant sprays safe for all mattress types?
Not all commercial sprays suit memory foam or latex, as harsh chemicals can dissolve internal adhesives. Always read the product label to ensure upholstery safety before application.
How do I kill dust mites during the mattress cleaning process?
High heat is the most effective way to kill dust mites. Using a garment steamer or washing your mattress protector in hot water eliminates them efficiently.