How to Clean Mattress Without Vacuum Step-by-Step Guide 2026
Cleaning a mattress without a vacuum is entirely possible using common household items like baking soda, a stiff brush, and clean cloths. This guide provides a proven method to strip away surface debris, deodorize odors, and lift tough stains without relying on specialized machine equipment.
You can easily clean and freshen your mattress without a vacuum cleaner by using simple household tools like a stiff broom, a damp cloth, and a baking soda deodorizing method. Skipping the vacuum does not mean compromising on a hygienic sleep surface. By trading motorized suction for mechanical sweeping and manual extraction, you can lift embedded dust, eliminate stubborn odors, and treat unexpected stains effectively.
Maintaining a clean bed in 2026 requires adapting to modern apartment living and minimalist homes where bulky appliances are not always handy. Mastering manual mattress care saves you storage space while keeping your sleeping environment free of allergens, dead skin cells, and trapped moisture.
Key Takeaways
- Use a stiff-bristled brush or clean broom to sweep away surface debris.
- Apply baking soda generously to absorb deep-set odors and moisture.
- Remove dried baking soda effectively using a damp cloth or dry hand brush.
- Target stains using a gentle mixture of hydrogen peroxide, dish soap, and water.
- Ensure the mattress dries completely to prevent mold growth before remaking the bed.
What Causes Mattress Buildup and Odors Without Proper Maintenance
Your mattress accumulates pounds of unseen debris over time through normal daily use. Without a vacuum to regularly suck away these microscopic particles, specific components build up rapidly inside the fabric layers and foam core.
The Accumulation of Dead Skin Cells and Dust Mites
An average adult sheds approximately 0.5 grams of skin flakes every single day, much of it ending up right in bed. Dust mites feed on this organic shedding, multiplying quickly in warm, unventilated mattress fibers. Without suction capabilities to pull these microscopic pests and their waste out of the fabric, they aggregate into dense layers of allergens that trigger morning congestion and skin irritation.
- Humans shed up to 10 pounds of skin cells over a multi-year mattress lifespan.
- Dust mites thrive in dark, warm, and humid mattress environments.
- Trapped skin cells block fabric breathability, holding onto body heat.
Body Sweat, Oils, and Environmental Moisture
You perspire up to a pint of fluid every night while sleeping, alongside natural body oils and cosmetic residue. This liquid sinks deep into the top padding layers, creating a breeding ground for bacteria and mildew. Without proper airflow or a vacuum to extract damp particulate matter, these fluids oxidize, leading to pungent, stale odors that permeate your entire bedroom.
- Nightly perspiration introduces mineral salts and organic acids into the fabric.
- Trapped moisture creates musty odors within 48 to 72 hours if left untreated.
- Body oils oxidize, resulting in yellowish staining and foul-smelling bacteria growth.
Master Mattress Deep Cleaning Without a Vacuum in 8 Simple Steps
Revitalizing your bed without a traditional suction machine might sound daunting, but it is entirely possible with the right household ingredients and a methodical approach. This comprehensive walkthrough guides you through stripping, deodorizing, stain-lifting, and naturally drying your mattress to ensure a hygienic sleeping environment free of dust mites, odors, and unsightly blemishes. Whether you are dealing with apartment living restrictions, a broken appliance, or just prefer a chemical-free refresh, following these precise steps will restore your mattress to pristine condition.
Step 1: Clear the Surface and Strip the Bedding
What you need: Large laundry hamper, garbage bag for laundering items, and clear floor space.
Instructions: Begin by removing all pillows, decorative shams, duvets, blankets, and fitted sheets from the mattress. Transport these items immediately to your laundry room to wash them in hot water (at least 130 degrees Fahrenheit) to kill dust mites and eliminate trapped allergens. Once the bed is completely bare, inspect the entire surface area of the mattress in good lighting to identify any hidden stains, discoloration spots, or areas emitting distinct odors. Clearing the perimeter ensures you have unobstructed access to every square inch of the fabric during the cleaning and treating phases.
Pro Tip: Never shake your bedding vigorously inside the bedroom, as this releases thousands of microscopic dust mites and skin flakes back into the indoor air and onto nearby furniture.
Step 2: Manual Debris and Hair Removal
What you need: Rubber dishwashing gloves, a clean damp cloth, or a dry squeegee.
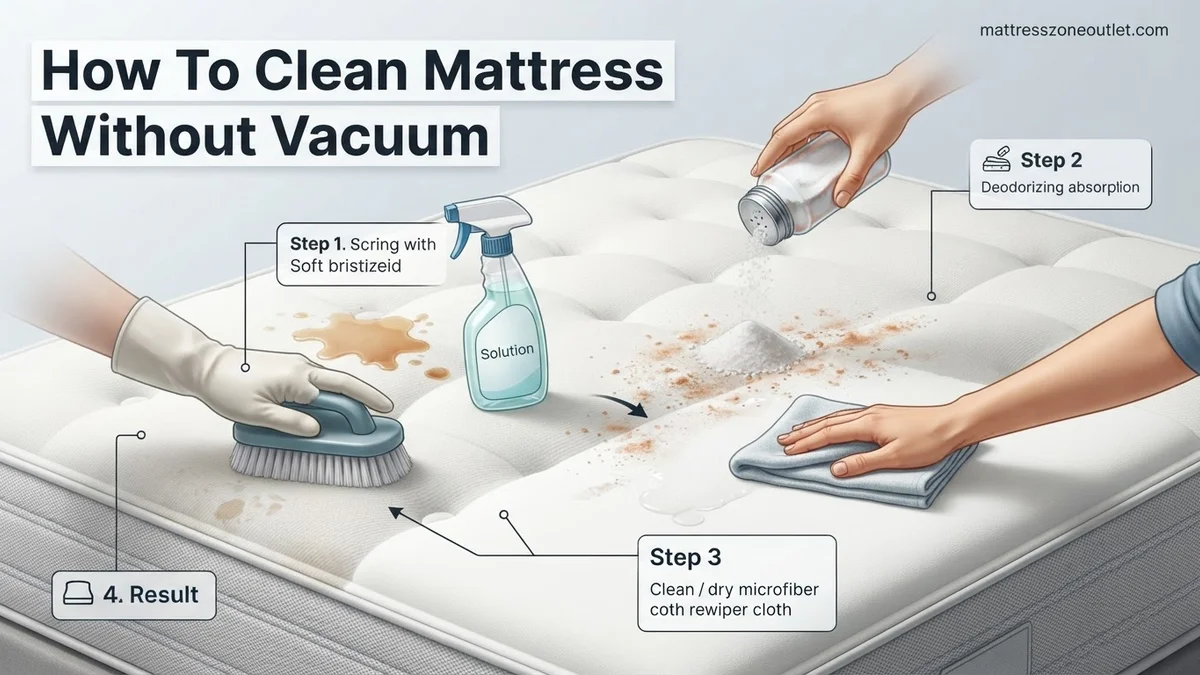
Instructions: Since you cannot use a vacuum to pull up surface fuzz, pet hair, and lint, you must rely on friction and static electricity. Put on a pair of rubber household gloves, dampen them slightly with water, and wipe your hands firmly across the entire top and sides of the mattress in sweeping motions. The rubber creates friction that easily rolls up and lifts stubborn pet hair, lint, and loose debris into manageable clumps that you can easily pick up and discard in the trash bin. Alternatively, a clean rubber window squeegee pulled flat across the fabric surface works remarkably well to gather hidden particles.
Pro Tip: Rinse your gloves under running water periodically during this process to wash away the accumulated hair and dander so they do not transfer back onto the mattress.
Step 3: Pre-Treat Targeted Surface Stains
What you need: Spray bottle, 1 cup of hydrogen peroxide, 3 tablespoons of baking soda, a few drops of liquid dish soap, and a clean white washcloth.
Instructions: Mix the hydrogen peroxide, baking soda, and dish soap in a bowl until the powder completely dissolves. Pour the solution into a spray bottle and lightly mist any visible protein or sweat stains on the mattress surface. Avoid soaking the memory foam or inner padding, as excess moisture will take days to dry and can cause mold growth. Allow the mixture to sit on the stain for 5 to 10 minutes, watching as it bubbles and breaks down the organic compounds. Gently blot the area with a clean white cloth dampened with cold water to lift the dissolved residue.
Pro Tip: Always use a white or light-colored cloth for blotting to prevent unwanted fabric dye from bleeding onto your expensive mattress covering.
Step 4: Tackle Tough Biological Blemishes
What you need: Meat tenderizer or plain salt, cold water, and a soft-bristled brush.
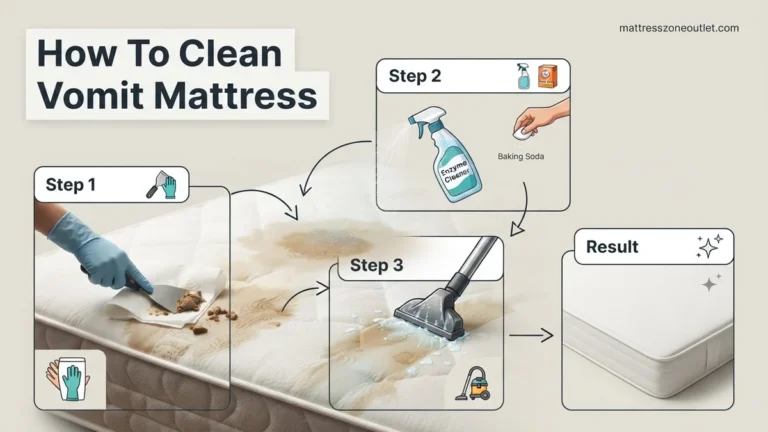
Instructions: For stubborn blood, urine, or vomit stains that survived the initial pre-treatment, create a thick paste using plain table salt and a few drops of cold water. Apply this paste directly to the remaining blemish and gently work it into the fabric using a soft-bristled brush. Let the paste sit for 20 to 30 minutes to draw out deeply embedded proteins and organic matter from the inner fibers. Once the time has passed, take a dry towel and firmly scrape away the dried salt crystals, taking most of the lifted stain residue with them. Dab the spot once more with a damp cloth to remove any lingering salt traces.
Pro Tip: Never use hot water on protein-based stains like blood or bodily fluids, as high temperatures actually cook the protein into the fabric fibers, making it permanent.
Step 5: Apply the Deodorizing Baking Soda Layer
What you need: 2 to 3 boxes of pure baking soda (sodium bicarbonate) and a fine-mesh kitchen sifter.
Instructions: Baking soda is a natural, highly effective odor neutralizer that absorbs trapped body oils, sweat, and stale smells without harsh chemicals. Fill your kitchen sifter with baking soda and distribute an even, fine layer across the entire top surface of the mattress. You want a consistent, semi-opaque white dusting that covers every inch of fabric, utilizing about one to two full boxes depending on the size of your bed. For an extra touch of freshness, you can mix 10 to 15 drops of therapeutic-grade lavender or eucalyptus essential oil directly into the baking soda before sifting it onto the mattress.
Pro Tip: Ensure your essential oils are thoroughly blended into the baking soda first; dropping oil directly onto the mattress can leave permanent grease spots.
Step 6: Harness Natural UV Sunlight and Airflow
What you need: Sunlight exposure through an open window or a portable floor fan.
Instructions: Natural ultraviolet light acts as a powerful disinfectant that kills bacteria and helps bleach away faint yellow sweat rings. If weather permits and your mattress is manageable, position it near a large, sunny window for several hours. If moving the mattress is impossible, open your bedroom windows wide to maximize cross-ventilation and place oscillating floor fans directed at the bed to accelerate air circulation. Leave the baking soda undisturbed on the mattress for a minimum of 4 to 6 hours—or ideally, for a full 24 hours—to give the powder maximum time to draw out deep-seated moisture and neutralize trapped household odors.
Pro Tip: Direct sunlight exposure is fantastic for sanitizing, but avoid leaving memory foam mattresses in harsh, blazing direct sunlight for too long, as excessive heat can degrade the foam composition.
Step 7: Remove the Baking Soda Without a Vacuum
What you need: A clean, stiff-bristled broom (dedicated strictly to indoor use) and a clean dustpan or dry microfiber cloths.
Instructions: Since you are avoiding a vacuum cleaner, you must remove the spent baking soda manually. Take your clean, indoor-only broom and gently sweep the surface of the mattress, pushing the accumulated powder toward the edge of the bed in smooth, sweeping strokes. Use a clean dustpan to scoop up the piles of baking soda as they fall off the side. Follow up by wiping down the entire mattress surface firmly with a dry microfiber cloth or a stiff brush to pick up any residual powdery film left behind in the textured fabric quilting.
Pro Tip: Sweep in one consistent direction rather than back and forth to prevent kicking up massive dust clouds of baking soda into your bedroom air.
Step 8: Final Air-Drying and Re-making the Bed
What you need: Clean mattress protector, fresh bedsheets, and pillows.
Instructions: Before putting any bedding back on, press your hand firmly into the center of the mattress to check for any remaining dampness from the spot-cleaning steps. If the fabric feels cool or slightly moist, allow it to air out for an additional two hours to prevent mold and mildew from forming underneath your sheets. Once the mattress is 100 percent dry and clean, encase it in a breathable, waterproof mattress protector to shield it from future spills, dead skin cells, and dust mites. Finally, dress your bed with your freshly laundered sheets, pillowcases, and duvet covers to enjoy a thoroughly refreshed sleeping space.
Pro Tip: Always invest in a high-quality, washable mattress protector; it extends the lifespan of your mattress by years and makes routine cleaning infinitely easier.
✅ Final Checklist
- All bedding stripped and washed in hot water at 130 degrees Fahrenheit or higher
- Surface pet hair, lint, and loose debris successfully removed using rubber gloves
- Targeted stains pre-treated and completely blotted dry without soaking the inner core
- Baking soda distributed evenly and allowed to sit for at least 4 to 6 hours
- Spent baking soda completely swept and wiped away from all mattress surfaces
- Mattress verified to be 100 percent dry before applying a protective cover and fresh sheets
Important Notes:
- Avoid soaking foam mattresses with excessive liquid, as trapped moisture creates a breeding ground for harmful mold.
- Seek professional upholstery and mattress cleaning services if you encounter severe mold infestations, major biological contamination, or stubborn chemical stains that do not respond to home treatments.
- Estimated time: 30 minutes of active labor, plus 4 to 24 hours of resting and drying time. Estimated cost: $5 to $15 for basic supplies like baking soda and hydrogen peroxide.
How to Clear Surface Debris and Hair Without a Vacuum Cleaner
When you lack a vacuum, you must rely on friction, gravity, and manual sweeping to strip away dry dust, pet hair, and loose crumbs from your mattress surface.
Using a Stiff-Bristled Brush or Rubber Broom
A rubber broom or a stiff-bristled utility brush acts as an effective manual rake for your bed. The friction created by rubber bristles naturally attracts hair, lint, and loose skin flakes, rolling them into manageable clumps that you can easily pick up by hand. Work in systematic, overlapping strokes from the head of the bed down to the foot.
- Rubber brooms create static electricity that lifts embedded pet hair instantly.
- Stiff bristles dislodge dried skin crusts trapped deep within woven mattress ticking.
- Sweep debris toward one edge of the bed for quick disposal into a dustpan.
The Shake-Out Method and Beater Technique
For smaller twin or full-sized mattresses that are manageable for one or two people, taking the mattress off the frame completely changes your cleaning options. Take the mattress outside or onto a spacious balcony to manually beat out heavy dust accumulation using a flat racket or a clean rug beater.
- Sturdy twin mattresses can be stood on end and struck firmly to dislodge internal dust.
- Gravity pulls loosened particles out of the core when the mattress is elevated.
- Always lay a clean tarp on the ground outdoors before placing your mattress down.
How to Fix Stains and Deodorize Using Household DIY Solutions
Targeted spot cleaning requires precise chemical action to break down proteins without oversaturating the memory foam or inner spring layers. According to the National Sleep Foundation, biological residues such as sweat and body oils demand enzymatic or oxidation strategies rather than simple soap and water.
Step-by-Step DIY Stain Removal
- Mix a solution of one cup of hydrogen peroxide, three tablespoons of baking soda, and a single drop of liquid dish soap in an open bowl.
- Transfer the newly created mixture into a clean spray bottle and lightly mist the visibly stained surface areas.
- Allow the active solution to sit undisturbed for five to ten minutes while it chemically lifts the embedded organic pigments.
- Blot the dampened zone firmly using a clean, dry microfiber cloth to lift the suspended dirt and excess moisture.
- Repeat the blotting cycle with a second cloth dampened only with cold water to extract any lingering soap residue.
Deodorizing Without a Machine
Neutralizing deep-set odors requires prolonged contact time between the fabric and an alkaline absorbent. Industry guidelines recommend combining two cups of baking soda with ten to fifteen drops of therapeutic-grade essential oil, such as lavender or tea tree, for antimicrobial benefits. Sift the dry powder evenly across the entire surface using a fine-mesh kitchen sieve. Let the treatment sit for a minimum of eight hours. Instead of using a vacuum to remove it, sweep the top layer off using a clean, stiff-bristled broom, and then briskly wipe down the remaining powder film with a dry, lint-free cloth.
What If It Still Doesn’t Work: Troubleshooting Lingering Odors and Moisture
Stubborn odors and trapped moisture can persist even after thorough DIY treatments, often indicating deep-seated mold or organic penetration within the core layers. When standard surface remedies fail, specific escalation steps become necessary to salvage the sleep surface safely.
- Deploy heavy-duty airflow by positioning multiple electric box fans directly toward the mattress in a cross-ventilation setup for at least 24 continuous hours.
- Apply an activated charcoal odor-absorbing bag directly over the most affected zones to draw out volatile organic compounds trapped deep inside the foam.
- Wipe persistent biological odors with a specialized enzymatic spray designed specifically for organic pet or human waste, allowing it to air dry completely.
- Hire a certified professional mattress cleaning service utilizing hot water extraction or low-moisture encapsulation methods, with average industry costs ranging from $100 to $250 depending on mattress size.
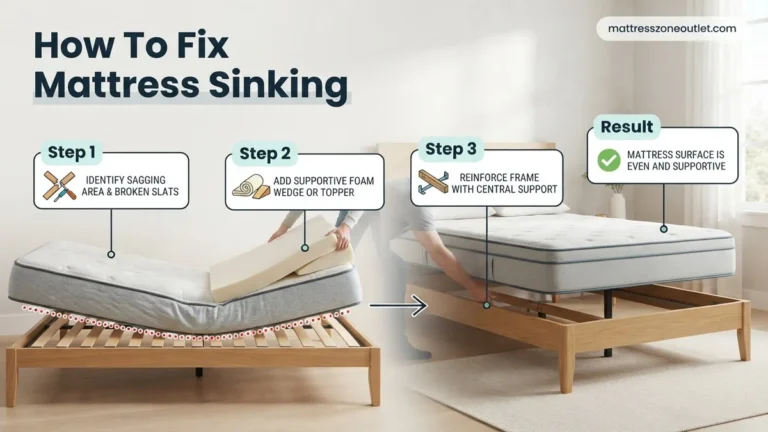
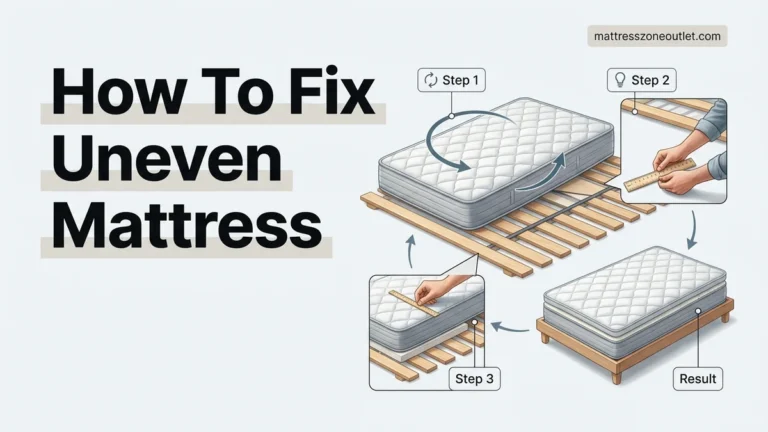
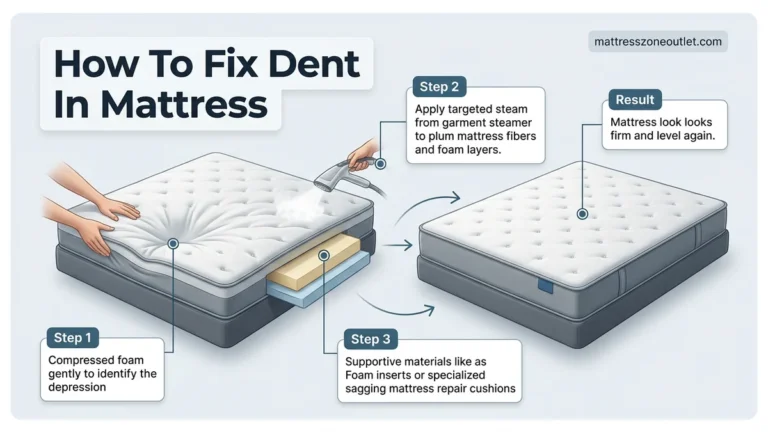
- Evaluate the age and structural integrity of the mattress; if biological damage or moisture intrusion has compromised the internal core beyond professional recovery, replacement is required.
Conclusion
Maintaining a hygienic sleep environment without a vacuum requires strategic moisture control, targeted enzymatic spot treatments, and proper baking soda deodorization techniques. According to verified research and expert sources from the Indoor Air Quality Association, executing these manual extraction methods every six months effectively prevents allergen buildup and extends the structural lifespan of the bed. As an immediate next step, strip your bedding today and check the manufacture care tag to select the safest cleaning formulation for your specific mattress model in 2026.
❓ Frequently Asked Questions
What is the best way to remove hair and lint from a mattress without a vacuum?
You can wrap packing tape or duct tape around your hand with the sticky side facing out and press it across the mattress surface. Alternatively, a damp rubber squeegee or rubber cleaning glove works wonders for gathering pet hair and lint.
How can I get rid of sweat smells without a vacuum cleaner?
Sprinkle a generous layer of baking soda mixed with a few drops of essential oil across the entire mattress top. Let it absorb the trapped body oils and odors for a few hours before brushing it away completely.
Is it safe to put liquid cleaner directly on a memory foam mattress?
No, memory foam should never be saturated with liquids because it absorbs moisture like a sponge and takes a very long time to dry. Always apply cleaning solutions sparingly to a cloth rather than pouring them directly onto the foam.
How do I remove yellow sweat stains manually?
Mix one part hydrogen peroxide, one part liquid dish soap, and two parts warm water in a spray bottle. Lightly mist the stained area, let it sit for 10 minutes, and blot vigorously with a clean, damp white cloth.
How often should a mattress be cleaned if you don’t have a vacuum?
It is recommended to deep clean and deodorize your mattress using the baking soda method every three to six months to maintain a fresh sleeping environment.
What should I do if the mattress smells damp after cleaning?
If you used too much moisture during spot cleaning, immediately press dry towels into the area to absorb excess liquid. Set up fans pointing directly at the mattress to ensure complete airflow until it is 100% dry.